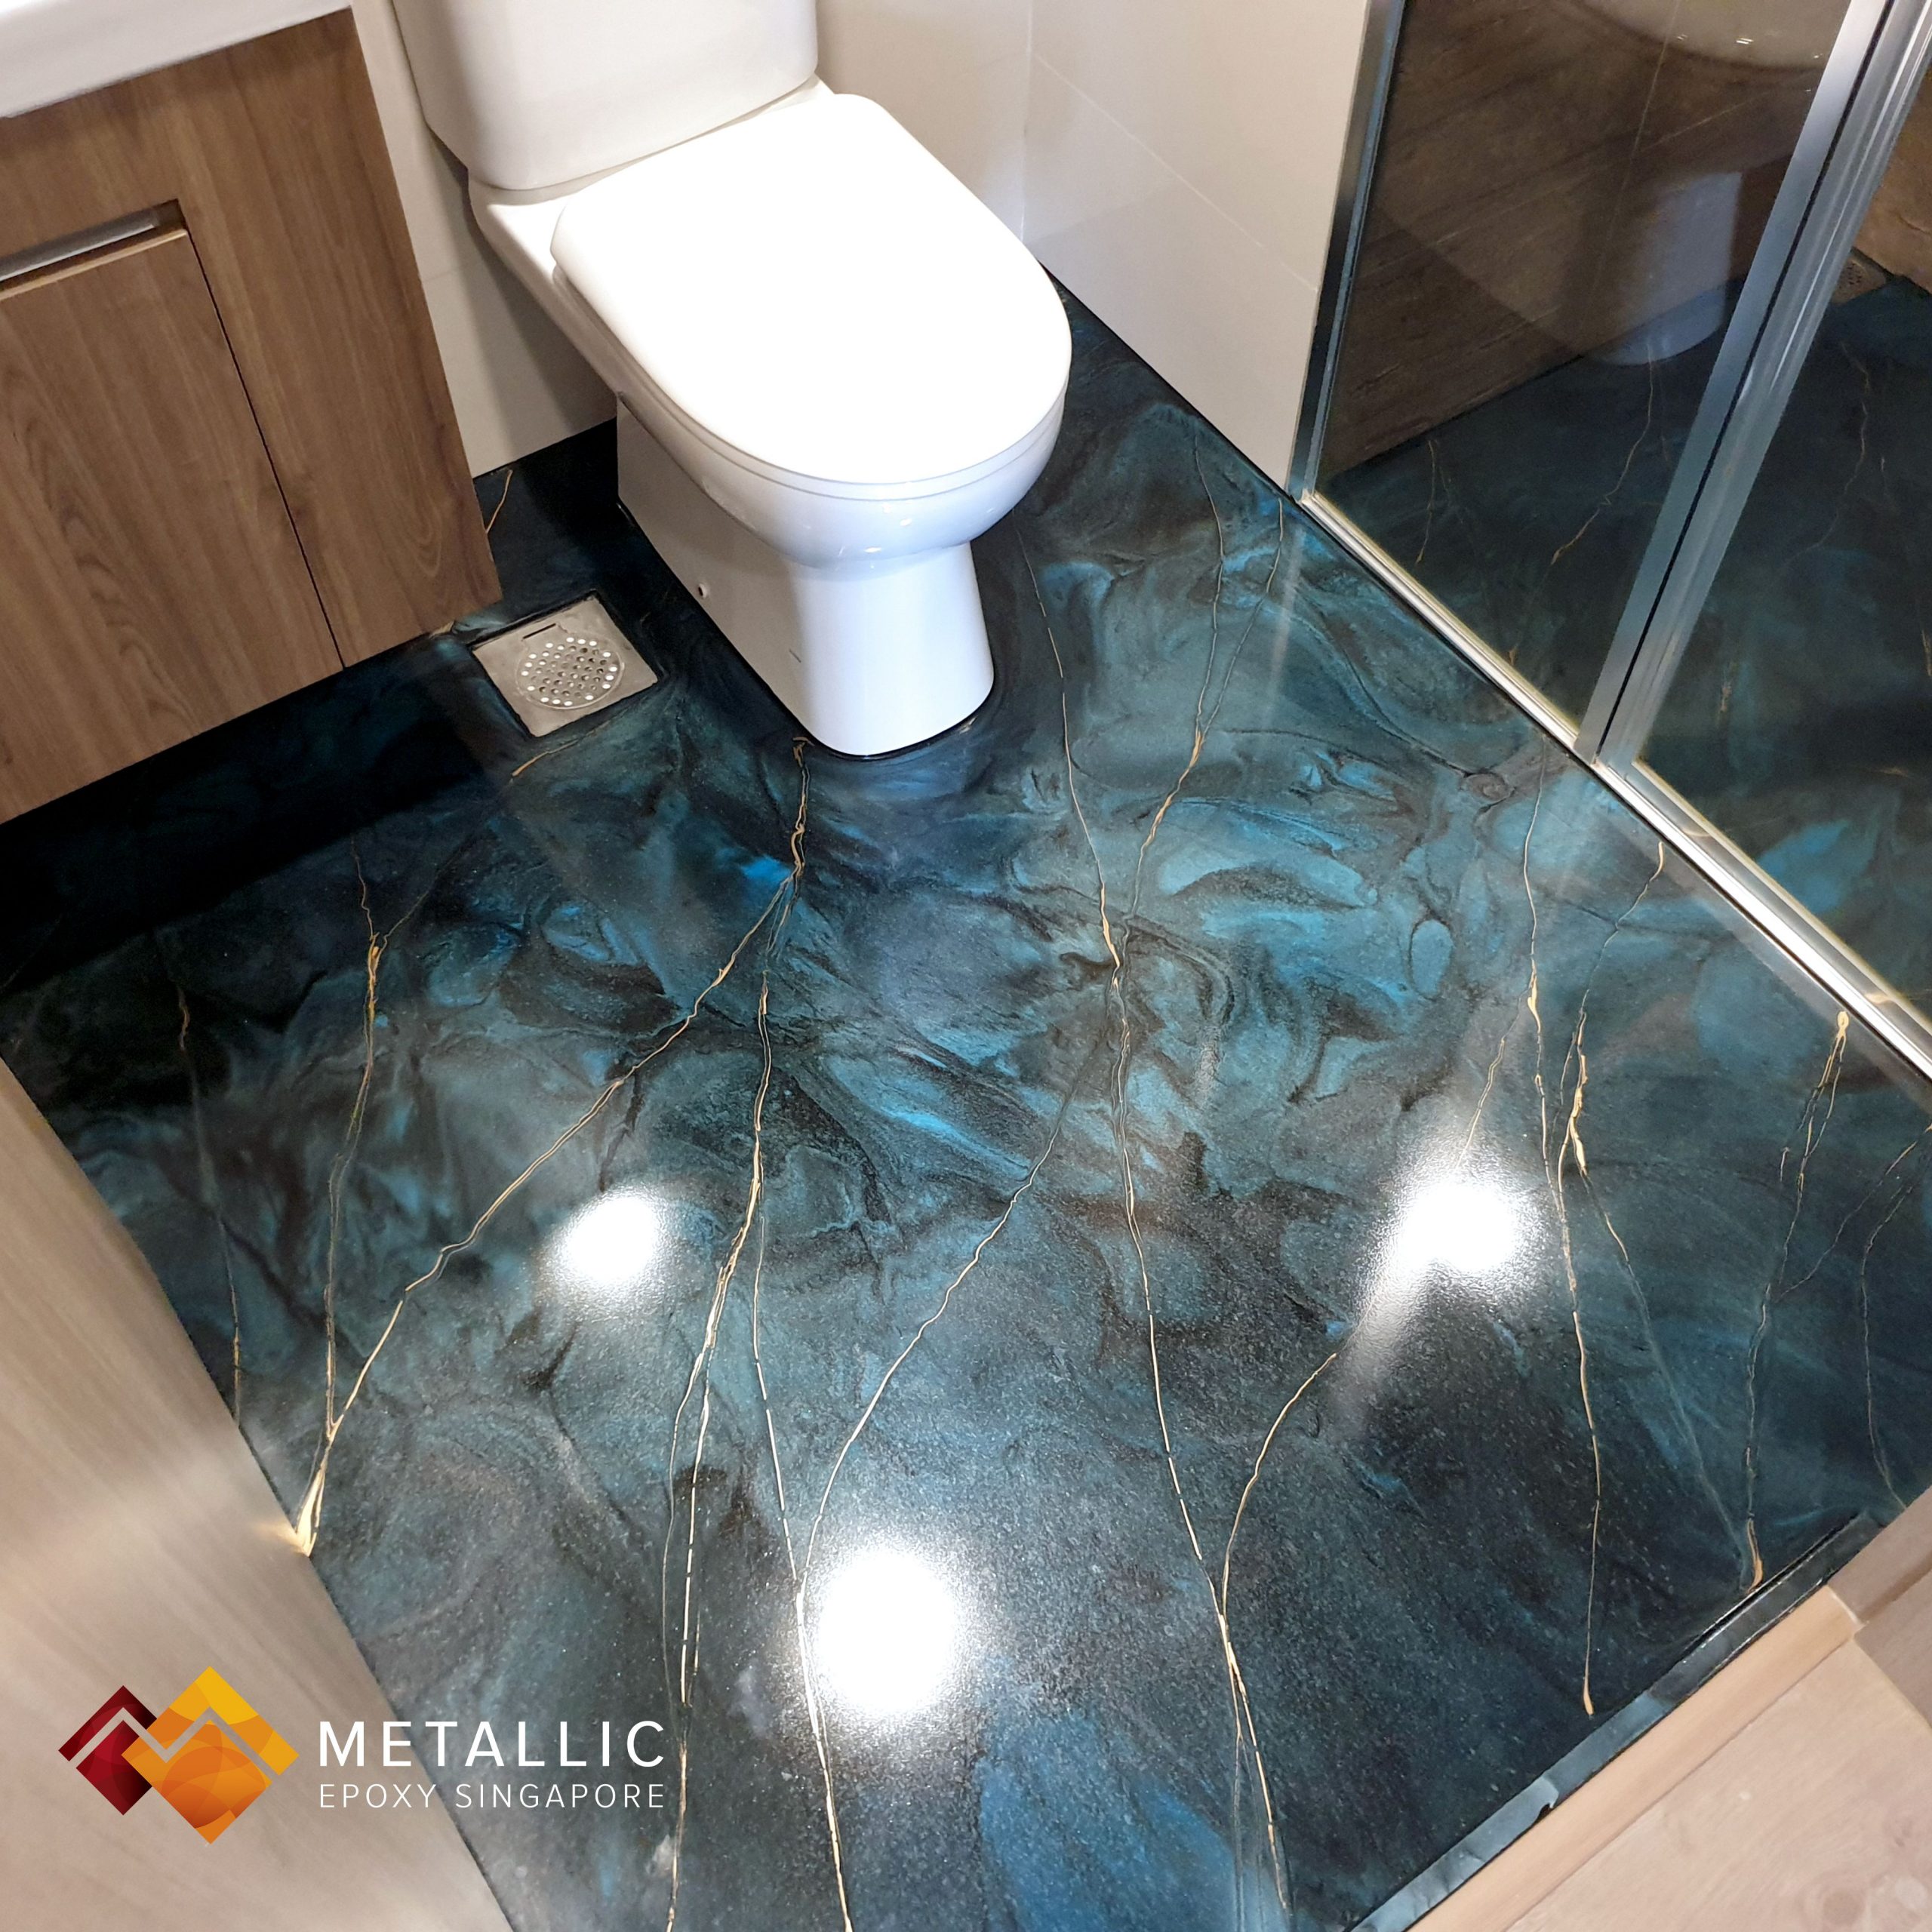
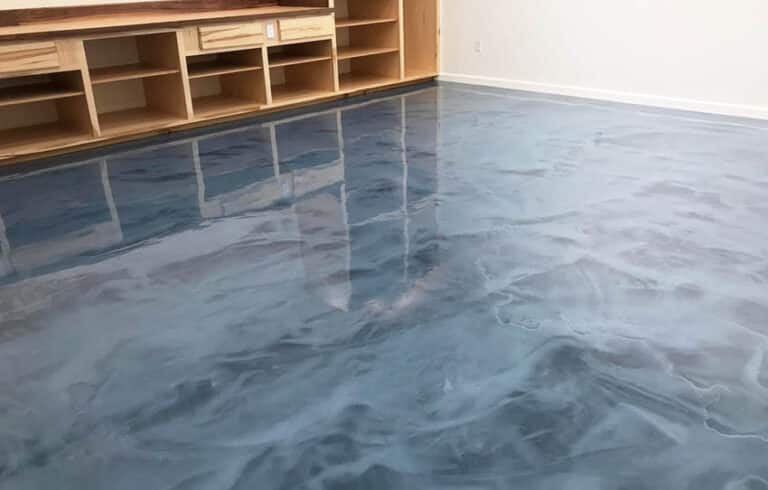
Epoxy Flooring for Bathrooms

Epoxy flooring is a popular choice for bathrooms due to its numerous advantages, particularly its durability, water resistance, and ease of maintenance. It is a seamless, non-porous surface that is highly resistant to stains, scratches, and moisture, making it ideal for high-traffic areas like bathrooms.
Benefits of Epoxy Flooring in Bathrooms
Epoxy flooring offers several benefits that make it a practical and stylish choice for bathrooms.
- Durability: Epoxy flooring is exceptionally durable, able to withstand heavy foot traffic and the impact of dropped objects without cracking or chipping. It is a long-lasting solution that can withstand the test of time.
- Water Resistance: Epoxy flooring is completely waterproof, making it an excellent choice for bathrooms where spills and splashes are inevitable. The non-porous surface prevents water from seeping into the subfloor, reducing the risk of mold and mildew growth.
- Ease of Maintenance: Epoxy flooring is incredibly easy to clean and maintain. Its smooth, seamless surface prevents dirt and grime from accumulating, and it can be easily wiped clean with a damp mop. The lack of grout lines eliminates the need for tedious scrubbing and sealing.
- Hygienic: Epoxy flooring is highly hygienic, as its non-porous surface inhibits the growth of bacteria and mold. This makes it a suitable choice for bathrooms, where cleanliness is paramount.
- Variety of Styles: Epoxy flooring is available in a wide range of colors, finishes, and patterns, allowing for customization to match any bathroom décor. It can be customized to create a sleek, modern look or a rustic, farmhouse aesthetic.
Comparison with Other Bathroom Flooring Options
Epoxy flooring is often compared to other popular bathroom flooring options like tile, vinyl, and laminate. While each option has its pros and cons, epoxy flooring stands out for its durability, water resistance, and ease of maintenance.
- Tile: Tile flooring is a traditional choice for bathrooms, known for its durability and water resistance. However, it can be prone to cracking and chipping, especially in high-traffic areas. Additionally, grout lines can accumulate dirt and grime, requiring regular cleaning and sealing.
- Vinyl: Vinyl flooring is a budget-friendly option that offers water resistance and durability. However, it can be prone to scratches and dents, and its lifespan is shorter than epoxy flooring. Vinyl flooring also lacks the same level of customization as epoxy flooring.
- Laminate: Laminate flooring is a cost-effective option that offers a variety of styles and finishes. However, it is not water-resistant and can be damaged by spills or moisture. Laminate flooring is also not as durable as epoxy flooring and may require replacement sooner.
Types of Epoxy Flooring for Bathrooms, Can you epoxy a bathroom floor
Epoxy flooring comes in various styles, each offering unique aesthetic and functional benefits.
- Solid Color: Solid color epoxy flooring provides a sleek, modern look with a uniform color throughout. It is a versatile option that can be customized to match any bathroom décor. Solid color epoxy flooring is a popular choice for creating a minimalist or contemporary aesthetic.
- Flake: Flake epoxy flooring features small, decorative flakes embedded in the epoxy resin, adding texture and visual interest. Flakes come in a variety of colors and sizes, allowing for customization to create a unique and eye-catching floor. Flake epoxy flooring is a popular choice for adding a touch of personality to bathrooms.
- Quartz: Quartz epoxy flooring is a premium option that incorporates quartz crystals into the epoxy resin. Quartz crystals provide a luxurious, shimmering effect, creating a sophisticated and elegant floor. Quartz epoxy flooring is often used in high-end bathrooms to create a luxurious and spa-like atmosphere.
Preparing Your Bathroom Floor for Epoxy Coating: Can You Epoxy A Bathroom Floor

A well-prepared bathroom floor is crucial for a successful epoxy coating application. This involves removing existing flooring, cleaning the surface, patching any imperfections, and sanding to create a smooth and even base for the epoxy. Proper preparation ensures a durable and long-lasting finish.
Cleaning the Bathroom Floor
Thorough cleaning is essential to remove dirt, grime, soap residue, and other contaminants that can hinder epoxy adhesion.
- Start by sweeping or vacuuming the floor to remove loose debris.
- Use a heavy-duty cleaner designed for removing grease and oil. Apply the cleaner according to the manufacturer’s instructions.
- Scrub the floor thoroughly with a stiff-bristled brush to remove stubborn stains and dirt.
- Rinse the floor with clean water and allow it to dry completely before proceeding to the next step.
Patching Imperfections
Patching cracks, holes, and uneven surfaces is vital for a smooth and even epoxy coating.
- Use a patching compound specifically designed for epoxy applications.
- Apply the compound according to the manufacturer’s instructions, ensuring it fills the imperfections completely.
- Allow the compound to dry completely before sanding.
Sanding the Bathroom Floor
Sanding the floor creates a smooth surface for optimal epoxy adhesion.
- Use a random orbital sander with 80-grit sandpaper to remove any remaining imperfections.
- Sand the floor in a consistent direction, working in small sections to avoid sanding too deeply.
- After sanding, vacuum the floor to remove dust and debris.
Removing Existing Flooring
Removing existing flooring, such as tile or vinyl, is often necessary before applying epoxy.
- For tile, use a hammer and chisel to break the tiles into smaller pieces, making removal easier.
- For vinyl flooring, use a utility knife to score the vinyl, making it easier to peel off.
- After removing the flooring, check for any remaining adhesive residue and remove it with a scraper or chemical stripper.
Essential Tools and Materials
- Heavy-duty cleaner
- Stiff-bristled brush
- Bucket
- Mop
- Patching compound
- Putty knife
- Random orbital sander
- 80-grit sandpaper
- Vacuum cleaner
- Hammer
- Chisel
- Utility knife
- Scraper
- Chemical stripper (optional)
- Safety glasses
- Gloves
- Dust mask